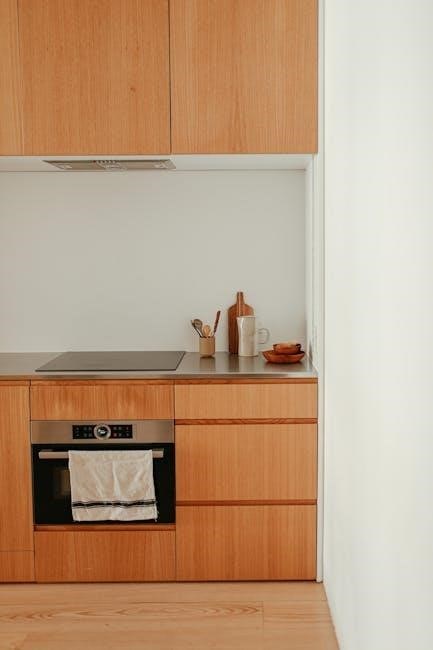
Self-cleaning GE ovens offer a convenient and efficient way to maintain your appliance. Using high heat or steam, these ovens break down food residue effortlessly, making cleanup simple and stress-free. This innovative feature ensures a cleaner oven with minimal effort, providing a modern solution to traditional scrubbing methods. Perfect for busy households, self-cleaning ovens combine advanced technology with ease of use, ensuring your kitchen stays spotless and functional. This guide will walk you through everything you need to know about using and maintaining your self-cleaning GE oven effectively.
Overview of Self-Cleaning Technology
Self-cleaning technology in GE ovens uses high heat or steam to break down food residue into ash, simplifying cleanup. High heat modes reach extreme temperatures to tackle tough grime, while steam cleaning offers a gentler, faster alternative for minor spills. The cycle duration varies, but both methods ensure a thorough cleaning without harsh chemicals, making maintenance efficient and eco-friendly.
Benefits of Using a Self-Cleaning Oven
Using a self-cleaning oven saves time and effort by eliminating the need for manual scrubbing. It removes tough grime and food residue effectively, maintains oven performance, and reduces odors. The process is chemical-free, promoting a safer kitchen environment. Regular use of this feature ensures a pristine oven interior, enhancing both functionality and longevity of your appliance while keeping your kitchen clean and hygienic.
Preparation for the Self-Cleaning Cycle
Before starting, remove oven racks and accessories for separate cleaning. Wipe the exterior and ensure proper ventilation to minimize odors and fumes during the cycle.
Removing Oven Racks and Accessories
Remove all oven racks, pans, and accessories before starting the self-cleaning cycle. This prevents damage from high heat and ensures effective cleaning. Clean racks separately with soap and water. For tough residue, soak them in hot water before scrubbing. Ensure racks are dry and cool before reinstalling to avoid warping or damage.
Cleaning the Oven Exterior Before the Cycle
Clean the oven exterior before starting the self-cleaning cycle to prevent grime from hardening. Wipe down surfaces with a damp cloth and mild soap. Avoid harsh chemicals or abrasive cleaners, as they may damage the finish. Ensure the door seals and handles are clean to maintain proper function and appearance during the cleaning process.
Ensuring Safety: Ventilation and Precautions
Ensure proper ventilation by opening windows or using a ventilation fan to reduce carbon monoxide exposure during the self-cleaning cycle. Keep the kitchen well-ventilated and avoid staying in the room if fumes are strong. Always follow safety precautions, such as keeping children away and avoiding harsh chemicals. This ensures a safe and effective cleaning process.

Activating the Self-Cleaning Cycle
Press and hold the latch release button, then slide it to the clean position. Turn the oven set and temperature knobs to the clean setting. Select the desired cycle duration based on your model’s instructions to begin the cleaning process.
Using the Latch Release Button
To activate the self-cleaning cycle, locate the latch release button on your GE oven. Press and hold it firmly while sliding the latch into the locked position. This ensures the door is securely closed during the high-heat cleaning process. Once locked, the oven will begin the cycle, which cannot be interrupted until completion. Ensure safety by keeping children away while the oven is in use.
Setting the Oven Knobs to Clean Mode
Turn the oven set knob and temperature knob clockwise to the “Clean” position. If your model lacks a “Clean” setting, set the temperature knob to any desired temperature. Ensure the oven door is securely closed before starting the cycle. This step initiates the self-cleaning process, allowing high heat to break down food residue efficiently.
Understanding Cycle Duration and Intensity
The self-cleaning cycle duration varies from 40 minutes to 2.5 hours, depending on intensity. Low intensity (2 hours) handles light messes, while high intensity (4 hours 20 minutes) tackles tough residue. The oven heats to extreme temperatures, breaking down food residue for easy cleanup. Choose the right intensity based on the level of cleaning needed for optimal results.

Steam Cleaning: A Faster Alternative
Steam cleaning is a faster alternative, using steam to remove minor food spills at lower temperatures. Pour water into the oven, select Steam Clean, and let it work, providing an eco-friendly and time-saving solution.
How Steam Clean Works
Steam Clean uses water to create steam, loosening food residue at lower temperatures; Pour one cup of water into the oven, select Steam Clean, and let the steam gently break down spills. This method is faster, eco-friendly, and avoids extreme heat, making it ideal for minor messes while maintaining oven cleanliness effectively.
Steps to Use Steam Clean for Minor Spills
Ensure the oven is cool. Pour one cup of water into the bottom. 2. Close the door and select the Steam Clean option on the control panel. 3. Let the cycle run, allowing steam to loosen spills. 4. Once done, wipe down the interior with a damp cloth. This method is quick and gentle, perfect for minor messes.

Safety Precautions During the Cleaning Cycle
Ensure proper ventilation to minimize carbon monoxide exposure. Avoid harsh chemicals and abrasives, as they can damage surfaces. Keep children away and protect surrounding areas from heat.
Minimizing Carbon Monoxide Exposure
Self-cleaning ovens emit small amounts of carbon monoxide from fiberglass insulation during high-heat cycles. Ensure proper ventilation by opening windows or using an exhaust fan. Avoid relying solely on kitchen ventilation, as it may not be sufficient. Never run the cleaning cycle in an unventilated space to prevent CO buildup and potential health risks.
Protecting Surfaces from Heat Damage
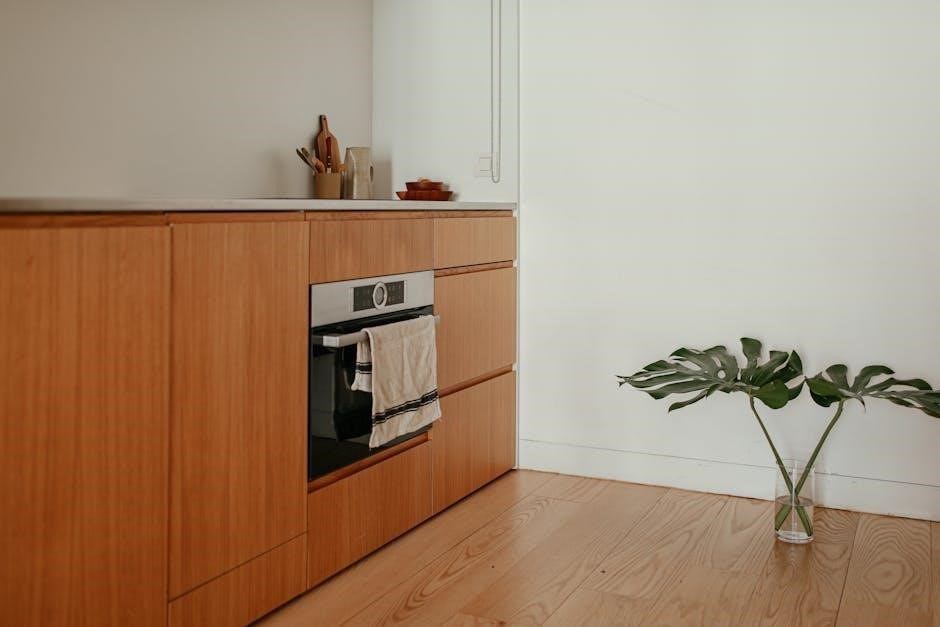
During the self-cleaning cycle, high temperatures can emit intense heat. Protect nearby surfaces by covering them with heat-resistant materials like towels or heat pads. Ensure the oven is properly installed with adequate clearance. Keep the area around the oven clear of flammable items and avoid placing plastic or heat-sensitive objects near it during cleaning.
Avoiding Harsh Chemicals and Abrasives
Avoid using harsh chemicals, abrasive cleaners, or rough scrubbers, as they can damage the oven’s finish or glass surfaces; Instead, rely on the self-cleaning cycle or steam clean feature to break down food residue naturally. For minor spills, a damp cloth or mild soap solution is sufficient. Never use metal scrapers, as they can scratch surfaces.
Post-Cleaning Care
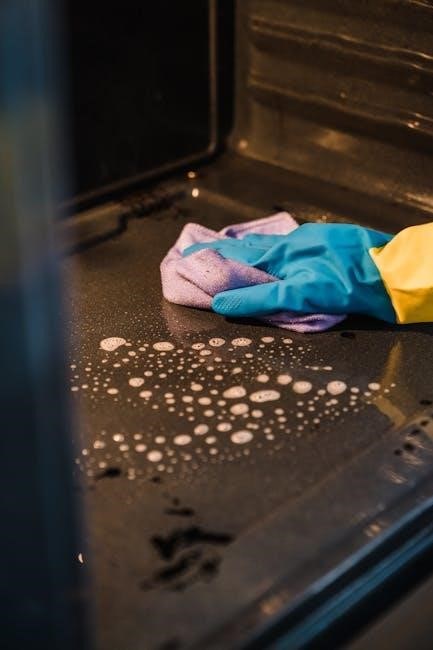
After the cycle, wipe the oven interior with a damp cloth to remove ash. Clean the door glass with a gentle cleaner and soft cloth. Properly dispose of food residue to maintain a clean and efficient appliance.
Wiping Down the Oven After the Cycle
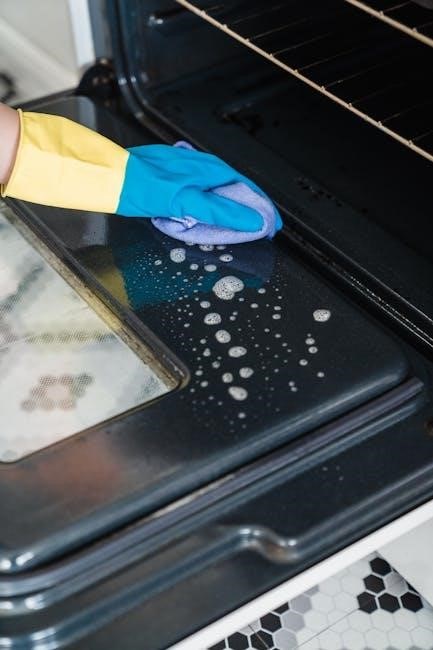
After the self-cleaning cycle, allow the oven to cool completely; Use a damp cloth to wipe down the interior, removing any ash or food residue. Avoid using harsh chemicals or abrasive cleaners, as they can damage the finish. Regular wiping helps maintain the oven’s cleanliness and efficiency.
Cleaning the Oven Door Glass Safely
Clean the oven door glass when it’s cool to avoid streaks. Use a soft cloth with a mild soap and water solution. Avoid harsh chemicals or abrasive materials that could scratch the surface. For tougher stains, apply the solution and let it sit before wiping clean. Some models allow steam cleaning for glass. Always dry the glass to prevent water spots.
Disposing of Food Residue Properly
After the self-cleaning cycle, allow the oven to cool completely before handling food residue. Use a soft brush or paper towels to collect and dispose of any leftover debris. Do not rinse food particles down the drain, as they may clog pipes. Instead, wrap them in a disposable bag and throw them away to maintain cleanliness and hygiene.

Maintenance Tips for Your GE Oven
Regularly clean racks and inspect oven parts for wear. Use the SmartHQ app to monitor performance. Avoid harsh chemicals and abrasives to protect surfaces and ensure longevity.
Routine Cleaning of Oven Racks
Remove racks and wash with mild soap and warm water. Avoid abrasive cleaners or scourers to prevent damage. Dry thoroughly before placing back in the oven. Regular cleaning prevents food residue buildup and maintains hygiene. For tougher stains, soak racks in soapy water before scrubbing gently. This routine ensures racks remain in good condition and function optimally.
Checking and Replacing Oven Filters
Regularly inspect oven filters for grease buildup and damage. Clean or replace them as needed to maintain proper ventilation. For models with charcoal filters, check every 1-2 years and replace when odors persist. Failing to maintain filters can reduce efficiency and potentially lead to carbon monoxide issues; Always follow the manufacturer’s guidelines for replacement;
Handling Broken Glass in the Oven
If glass breaks inside your GE oven, turn it off immediately to avoid further damage. Allow the oven to cool completely before cleaning. Use a soft cloth or sponge to carefully remove large pieces, taking care not to scratch surfaces. For shattered glass, gently sweep it up with a damp cloth. Avoid harsh chemicals or abrasive cleaners, as they may damage the glass or interior. If the broken glass is inside the oven door or on interior panels, consult a professional for safe removal to prevent further breakage or shattering during future use.
Troubleshooting Common Issues
Identify issues like faulty latch mechanisms or unusual odors during cleaning cycles. Refer to your GE oven manual for specific solutions or contact customer support for assistance.
Issues with the Latch Release Mechanism
If the latch release mechanism malfunctions, ensure it’s clean and free from obstructions. Push and hold the latch release button firmly while sliding it into the clean position. If issues persist, check alignment or consult your GE oven manual for troubleshooting steps or contact support for assistance.
Problems with Steam Clean Functionality
If your GE oven’s Steam Clean feature isn’t working, ensure the oven is cool and properly prepared. Check that the water level is correct and the door seals tightly. If error messages appear, reset the oven or consult the manual. Avoid using excessive water, as this can trigger malfunctions. Ensure the steam clean button is functioning properly for optimal results.
Odd Smells During the Cleaning Cycle
Odd smells during the self-cleaning cycle often result from food residue burning at high temperatures. To minimize this, clean up large spills before starting and ensure proper ventilation by opening windows or using a fan. Avoid harsh chemicals, as they can release fumes. After cleaning, wipe down the oven and let it cool before using a water-and-vinegar solution to neutralize any lingering odors.

Eco-Friendly and Energy-Efficient Cleaning
Eco-friendly cleaning for GE ovens involves using steam for minor spills, reducing energy use, and avoiding harsh chemicals, promoting sustainability and maintaining performance efficiently;
Reducing Energy Consumption
GE ovens offer eco-friendly options like steam cleaning, which uses less energy than traditional self-cleaning cycles. This method cleans minor spills effectively at lower temperatures, reducing overall power consumption. By utilizing steam, you minimize energy usage while maintaining a clean oven, contributing to a more sustainable and energy-efficient cleaning process.
Eco-Friendly Alternatives to Harsh Cleaners
Opt for eco-friendly cleaning methods like steam cleaning, which uses water vapor to break down food residue without harsh chemicals. For minor spills, mix water and vinegar in the oven, then heat it to create a natural cleaning solution. These alternatives are safer for the environment and prevent exposure to toxic fumes, promoting a greener cleaning approach.
Advanced Features in Modern GE Ovens
Modern GE ovens feature advanced technologies like SmartHQ App integration, allowing remote monitoring and control. Multiple cleaning intensity levels provide customized solutions for various messes, enhancing efficiency and convenience.
SmartHQ App Integration
Modern GE ovens integrate seamlessly with the SmartHQ App, enabling users to monitor and control their appliance remotely. This feature allows scheduling cleaning cycles, receiving notifications, and accessing diagnostic tools. The SmartHQ App enhances convenience, ensuring your oven operates efficiently and maintains peak performance with minimal effort.
Multiple Cleaning Intensity Levels
GE ovens offer multiple cleaning intensity levels, allowing users to tailor the cycle to their needs. From light messes to heavy-duty grime, these settings adjust temperature and duration for optimal results. This feature ensures efficient cleaning while preserving energy, making it ideal for various cleaning requirements and providing a customizable solution for maintaining your oven’s interior.
Self-cleaning GE ovens simplify maintenance with advanced features like high-heat cycles and steam cleaning, ensuring a spotless interior with minimal effort. Regular use of these features extends the appliance’s longevity and keeps your kitchen clean and efficient.
Final Tips for Maintaining Your Oven
Regularly check and replace oven filters to ensure optimal performance. Avoid harsh chemicals and abrasive cleaners, as they can damage surfaces. Use soft cloths and mild detergents for exterior cleaning. Inspect oven racks and handles for wear and tear. Always refer to your GE oven manual for model-specific care instructions to maintain efficiency and longevity.
Ensuring Longevity of Your Appliance
Regular maintenance is key to extending your oven’s lifespan. Avoid using abrasive cleaners and ensure proper ventilation during cleaning cycles to prevent carbon monoxide buildup. Clean up spills promptly to prevent baked-on residue. Inspect and replace worn-out parts like seals and filters. Follow GE’s recommended cleaning schedules and guidelines to keep your oven in prime condition for years.